
Do you want to search in all categories or in this category ?

Cross-docking is a procurement and fulfillment strategy where items that come from different suppliers are placed in a docking area where they are sorted and put together for shipping to customers.

To configure cross-docking, you must first enable Multi-step routes from Inventory -> Configuration -> Settings.
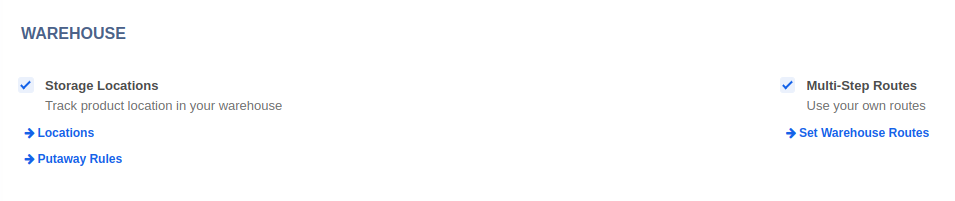
Once you have enabled the Multi-Step Routes setting, go to Inventory -> Configuration -> Warehouse and click on the warehouse that you want to enable cross-docking. In Edit mode, select the Receive goods in input and then stock (2 steps) option for Incoming shipments and Send goods in output and then deliver (2 steps) option for Outgoing shipments. Click on Save.
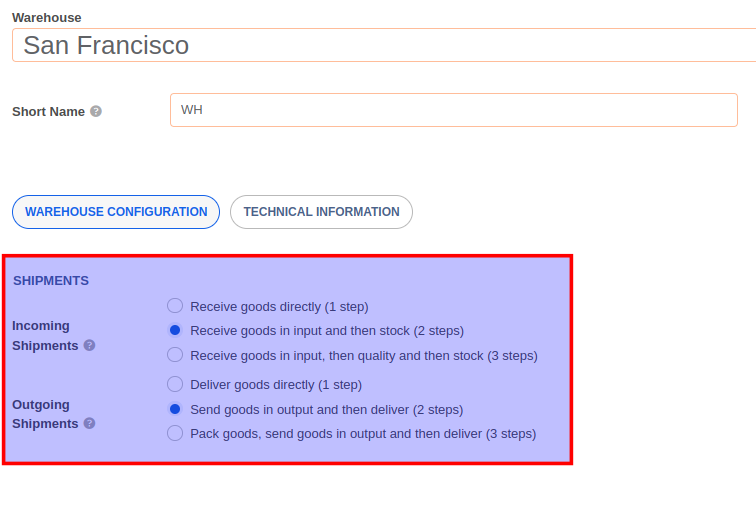
This will result in the creation of a new route called Cross-Dock that you can select on the product form.
Enable the Cross-dock and Buy routes for each product that will use the cross-docking method.
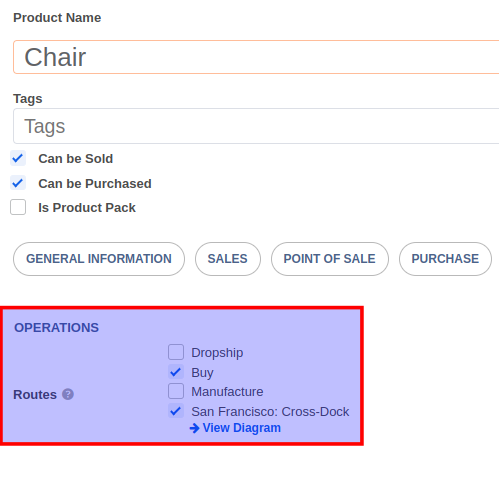
Also, ensure that you have defined at least one vendor for the product in the Purchase tab.

When you confirm a sales order for a product that is configured with cross-docking, two transfers are automatically created:
An internal transfer from input to the output location.
A transfer from output to the customer location.
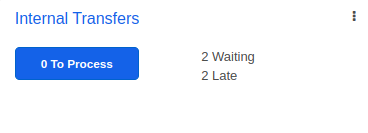
Both transfers will have the status Waiting another operation until the items have been ordered from the vendor and received in the input area.
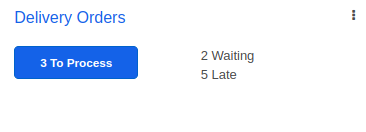
You can access these pickings using the Delivery button on the sales order.

Inventory users can access the Internal transfer from the Inventory -> Overview screen using the Waiting link in the card for Internal Transfers. The OUT transfer can be accessed using the Waiting link in the card for Delivery orders.
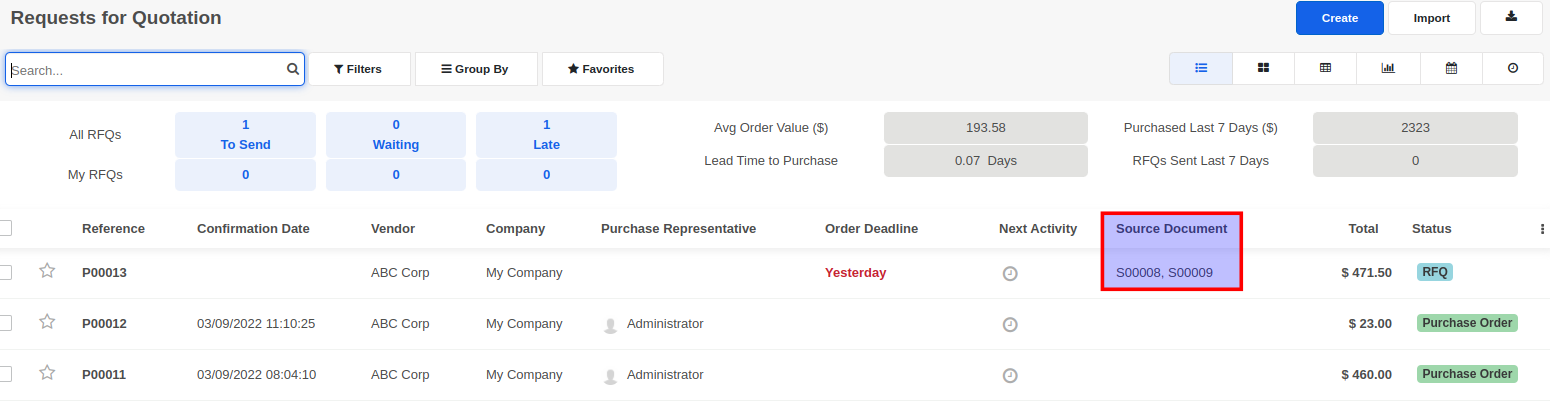
When the sales order for a cross-docking enabled warehouse and product is confirmed, a Draft RFQ (Request for quotation) is automatically generated. To access the draft RFQ go to Purchase -> Request for quotation and locate/search for the record that has the sales order reference as the source document.
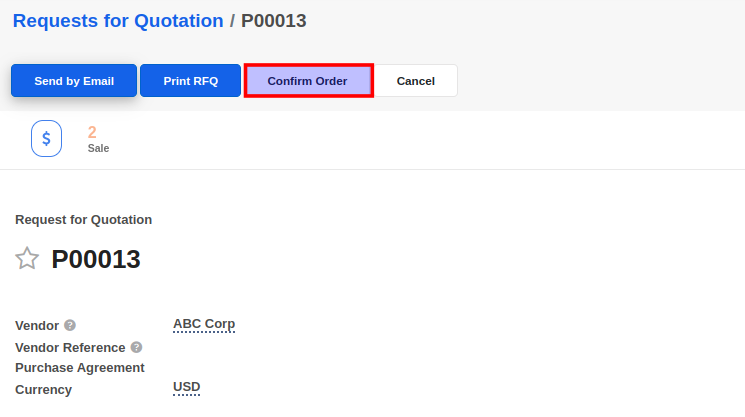
Click on the Confirm Order button ON the draft purchase order form after verifying the cost price and other details. The confirmation will automatically generate a draft receipt that you can access either using the Receipt button on the purchase order or from the Receipts card in the Inventory -> Overview screen.
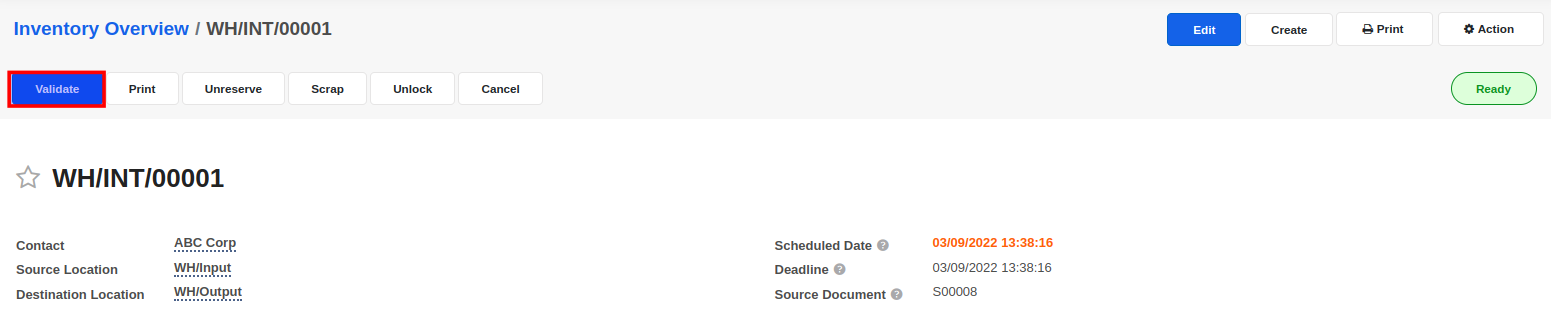
When the products arrive in your warehouse, click on the Validate button to confirm the receipt.

Now let's take another look at the pickings that were generated from the sales order we confirmed a while ago. You will notice that the first transfer (from Input -> Output) has now changed to Ready status.
Click on the Validate button to confirm the stock move from Input -> Output location. The validate action will change the status of the transfer to Done and you will notice that the status of the transfer for Output -> Customer is now Ready to be processed.
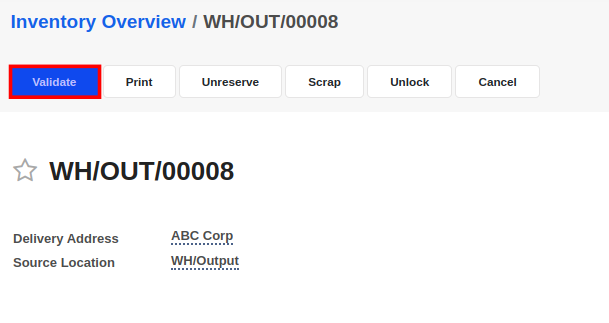
Click on the Validate button to confirm the transfer from Output -> Customer location.


Advice and answers regarding Inventory