
Voulez-vous chercher dans toutes les catégories ou cette catégorie ?

Analytic accounting as the name suggests is a method to analyze costs, revenues, and profitability at a more granular level that is usually not represented in your chart of accounts. For example, you may want to track the expenses and revenue of a product, project, cost center, or department. Analytic accounts are completely separate accounts from your chart of accounts. Therefore, analytic accounts help you track costs and revenues in a more detailed manner without posting journal entries.
To start using analytic accounting, you must activate it from the Accounting -> Configuration -> Settings page. Your user account must have Accounting -> Accountant privileges to access the settings page.

To create analytic accounts, go to Accounting -> Configuration -> Analytic Accounts and click on the Create button. The Group field is useful if you need to set up a hierarchy for your analytic account. To manage Analytic Accounting Groups, go to the Accounting -> Configuration -> Analytic Account Groups menu.
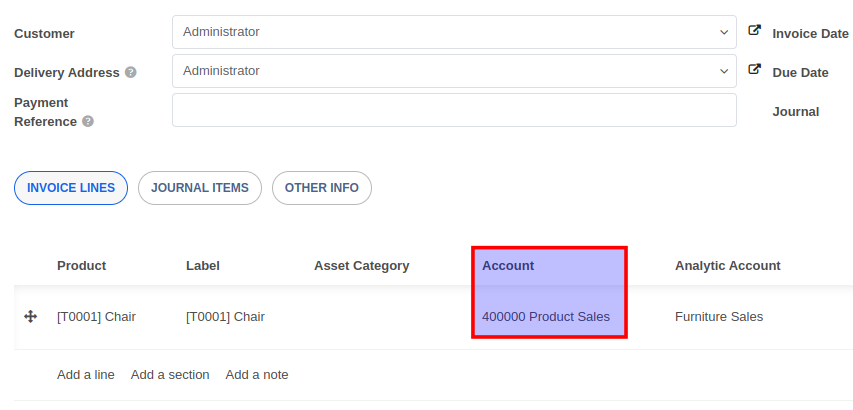
Once you have enabled analytic accounting, you will be able to specify an analytic account on the product lines of an invoice or a supplier bill.
To see a list of analytic items, go to the Accounting -> Analytic Items menu. A positive amount in an analytic entry represents an income whereas a negative amount represents an expense/revenue. You can use filters and groups to analyze the items in addition to the various views available on this screen.

You can also distribute an income/expense into several analytical accounts using Analytic Tags.


Advice and answers regarding accounting