
Do you want to search in all categories or in this category ?

The three-step receipt process allows you to receive the goods in your receiving area, then transfer them into a quality area for quality control (QC). When the quality check is completed, the goods that conform to your QC requirements are moved to stock.
To use the three-step receipt flow, enable Multi-Step Routes from the Inventory -> Configuration -> Settings page.

By default, activating Multi-Step Routes will also activate Storage Locations.
Once the Multi-Step Routes setting has been activated, go to Inventory -> Configuration -> Warehouse and click on the warehouse that will use the 3-step receipt process. In Edit mode, select Receive goods in input, then quality, and then stock (3 steps) for Incoming Shipments.
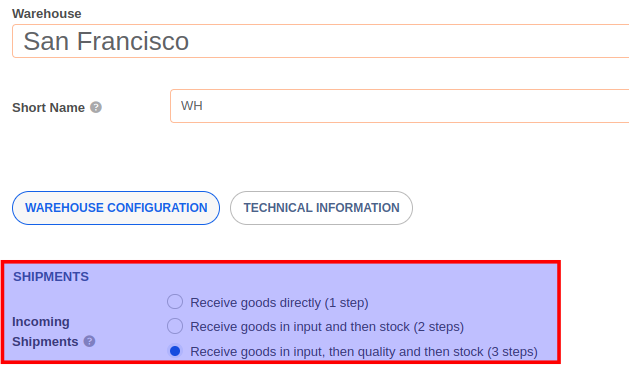
Activating this option automatically creates two new locations: Input and Quality Control. If you wish to rename them, go to Inventory -> Configuration -> Warehouse Management -> Locations and click on the location you want to rename and update the Location Name field.
To create a purchase order, go to Purchase-> Request for Quotation and click on the Create button. Fill the form and click on the Confirm Order button when done. Confirming the order will automatically create the following transfers:
A receipt transfer with a reference IN
A quality zone internal transfer with a reference INT
A stock transfer with a reference INT
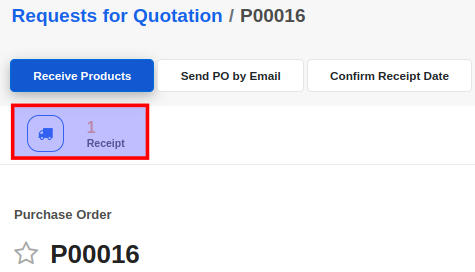
To access the receipt transfer, click on the Receipt button from the Purchase Order or go to the Inventory -> Overview menu and click on the To Process button in the Receipts card and locate the receipt.
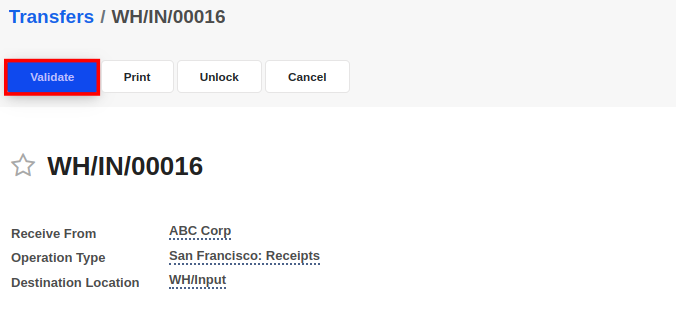
In the receipt form, click on the Validate button to confirm the transfer to your Input location.
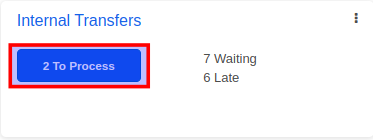
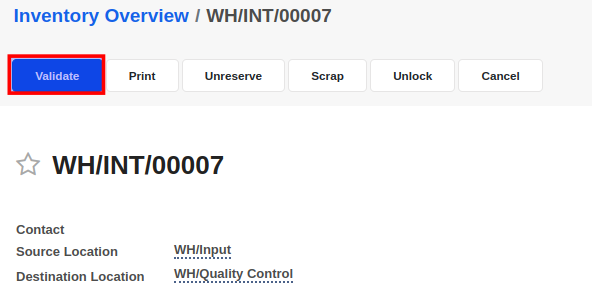
Once the receipt has been validated, the status of the internal transfer to quality automatically changes to Ready. The products received in the previous step are automatically reserved in the transfer document to the quality zone. You can locate the internal transfer to the quality zone from the Inventory -> Overview menu and click on the To Process button in the Internal Transfer card.
In the internal transfer document, click on the Validate button to confirm the transfer to the quality location.
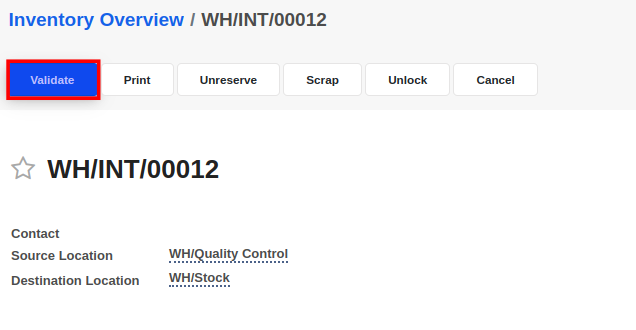
Once the internal transfer has been validated, the status of the internal transfer document for moving the items to stock automatically changes to Ready. The products received in the previous step are automatically reserved in the stock transfer document. You can locate the stock transfer from the Inventory -> Overview menu and click on the To Process button in the Internal Transfer card.
In the internal transfer document, click on the Validate button to confirm the transfer to the stock location.
By default, all products and quantities in the Detailed Operations tab will be received when you Validate the transfer. However, you may manually enter the quantities to receive in the Done column of the Detailed Operations tab. This is only required when you want to receive a part of the ordered products/quantities.
If you have entered lesser Done quantities than the Reserved quantities, you will see a confirmation dialogue to create a backorder. If you choose to Create Backorder, then a new receipt for the remaining items is automatically generated and linked to the original purchase order.


Advice and answers regarding Inventory